
Realistic Microphone in Photoshop Photoshop Tutorial

 How to make a realistic Microphone in Photoshop
This photoshop tutorial shows you how to make realistic looking microphone from scratch.
Step 1

Create a new Document 600 x600 -rgb, transparent bg
Make a circle with the marquee tool
Step 2
 Fill with a grid pattern. How to make Grids
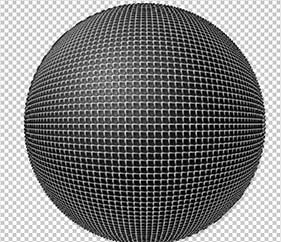
Step 3
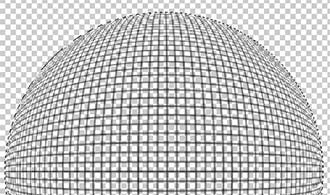
We want to make our grid nice and spherical
Filter>Distort>spherize
Use 100% and run the filter 2X
Don’t deselect
Step 4
 Create a new layer and move it beneath the mesh layer and name it “head”
Step 5
 Create a light to dark gray gradient
Use the circular settings and fill the sphere so it looks like the image shown
Deselect
Step 6
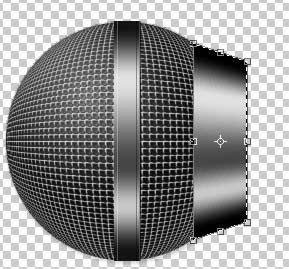
Choose the Mesh Layer again
Add a bevel and emboss layer style as shown here
Set the gloss contour for double ring
Choose color overlay and make it a light gray color
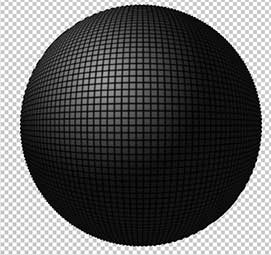
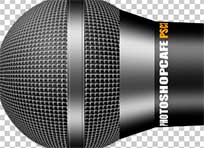
Step 7
 You should have a sphere like the one on the left now, this is our mesh
Step 8
 Create a new gradient like the one here
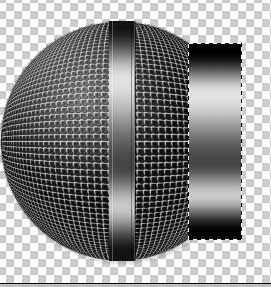
Step 9
 Make a new layer
Draw a rectangle
Fill it with the new gradient, linear top to bottom
Step 10
 We want to add a bit of depth, so duplicate the rectangle 2X, move both copies beneath the gradient layer
Fill one copy with white and one copy with black
Step 11
 Nudge the black rectangle to the right by 1 pixel
Nudge the white rectangle to the left by 1 pixel
Step 12
 Repeat the steps 9-11 except make the rectangle narrower as shown in the illustration here
![]() Link all the layer and choose create new set from linked
Link all the layer and choose create new set from linked
Name it head. We now have the mic head completed.
Lets continue to the body in
Step 13
Lets make the shoulder of the mic now…
Create a new layer above the “head” layer set
Create a new rectangle
Fill with the same gradient that we used before on the ring around the head
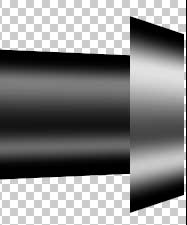
Step 14
Press cmd/Ctl+T for free transform
Right click and choose “perspective”
Drag the right side of the rectangle in as shown
Step 15
Use the image>Canvas size to englarge the canvas for the rest of the mic
Create a new rectangle and fill with the gradient
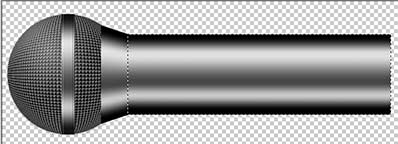
Step 16

Free Transform>perspective
Shape the body of the microphone
Step 17
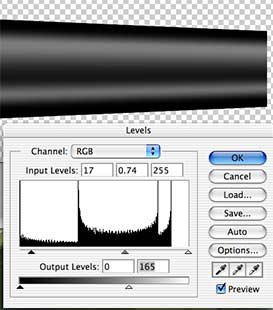 Darken up the body a bit:
Press cmd/ctrl+L for levels
Use the settings I used here, make sure you adjust the very bottom highlight slider
Step 18
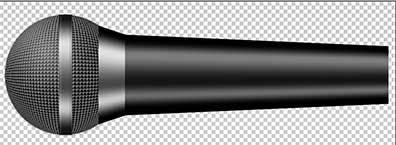
We now have a darker body for the mic
Step 19
Duplicate the shoulder and move the duplicate all the way to the end.
Step 20
Use free transform to make an endcap as shown
Step 21
Lets add some text.
Create your text and rotate it.
Rasterize the text by clicking on its name in the layers palette and choose “rasterize”
Make a rectanglar selection around the text
Step 22
Lets make the text wrap around the mic:
Choose filter>distort>spherize
Set it for 100% and vertical only
press ok
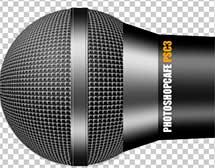
Step 23
Deselect
The type should be wrapping around the mic now, if not then use the free transform to touch it up.
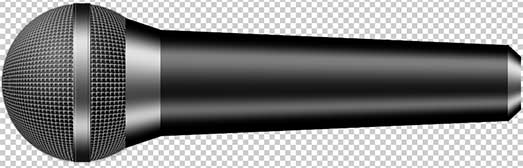
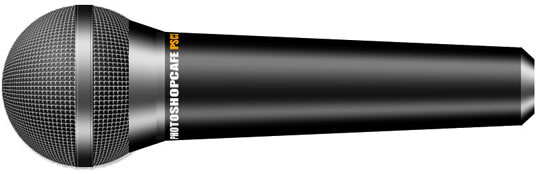
Step 24
There you have it, a microphone in Photoshop. I hope you enjoyed this tutorial.
PS Don’t forget to follow us on Social Media for more tips.. (I've been posting some fun Instagram and Facebook Stories lately)
You can get my free Layer Blending modes ebook along with dozens of exclusive Photoshop Goodies here

Easily remove things from photos with advanced content aware fill options in Photoshop. When Content Aware Fill doesn't work as...

How to use the Lumetri panel in Premiere Pro to color grade your video. This 11 minute mini course teaches...

What's changed in Photoshop Generative Fill, Fill & Expand model?


