
Superman 3D Extruded text Photoshop Tutorial

In this Photoshop tutorial you will learn how to make 3D extruded text in the style of the Superman text effect. I originally wrote this tutorial before Photoshop has any 3D features. I am keeping that tutorial at the end in case you are running an older version of Photoshop than CS6. For those who are on Photoshop CS6 or Photoshop CC, I have a new tutorial for you right here. So, in a way this is actually 2 tutorials, choose your poison!
3D Extruded Text in Photoshop
Step 1
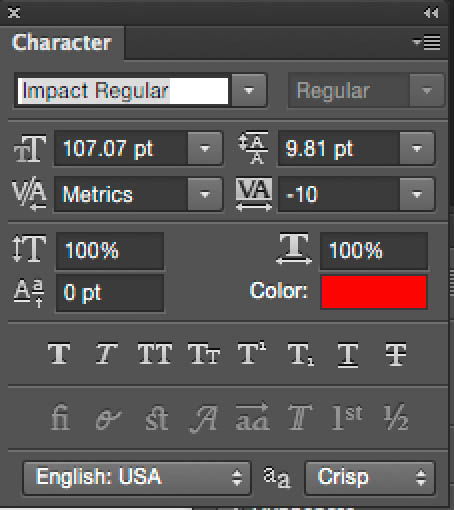
Create some text, make the color red and set it in all caps, you a bold font. Notice that I set the tracking to -10 because on the Superman text the letters are close together.

Step 2
Select the First Character and make it larger than the others.
Step 3
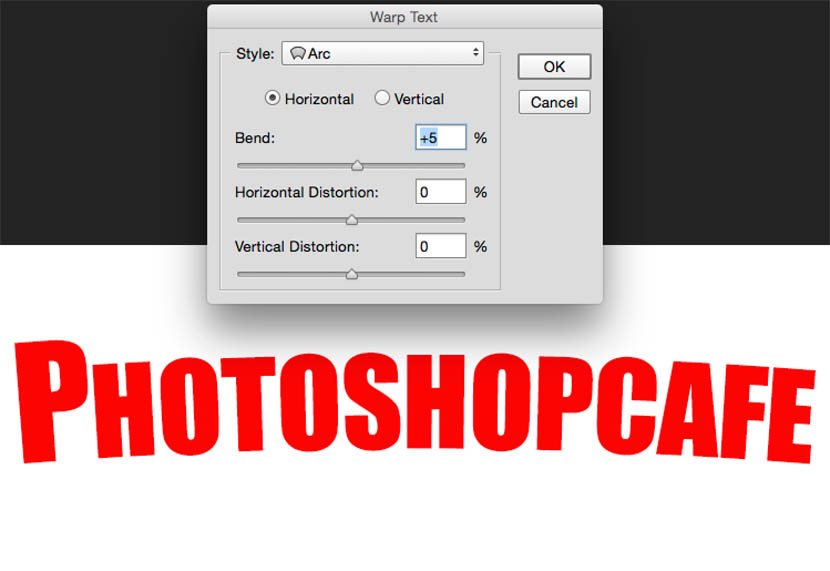
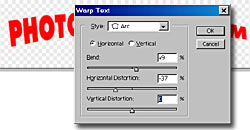
We need to put a slight bend in the text. With the text selected, choose the Warp text from the top tool bar.
Choose Arc and set a low amount of +5
Step 4
Let;s make the text 3D.
Click the 3D button at the top toolbar

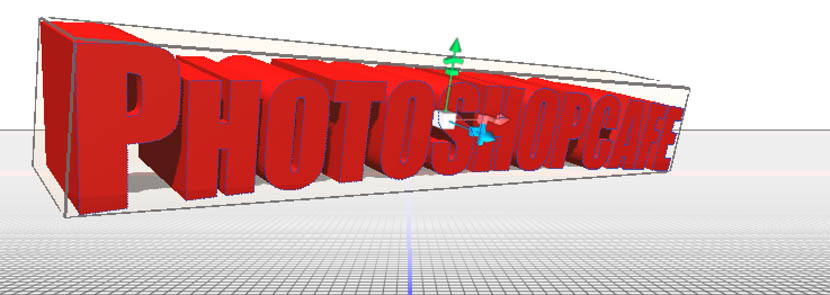
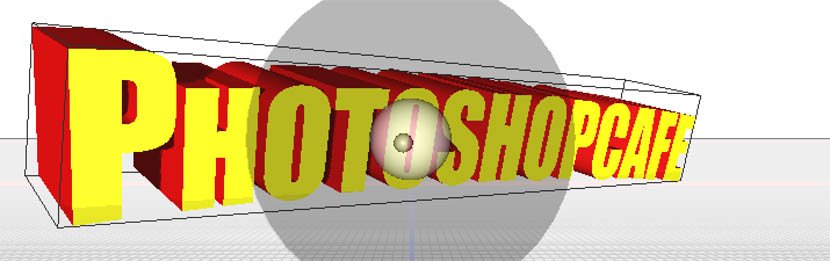
The text should now look extruded. You will also have the option to switch to the 3D workspace. If not, choose it from the workspaces.
Step 5
These are the tools that you will use to manipular the text in 3D space. For the most part, you will use the first option (selected)

Drag the 3D tool until your text is positioned the way you like.
Step 6
Let’s make the front yellow.
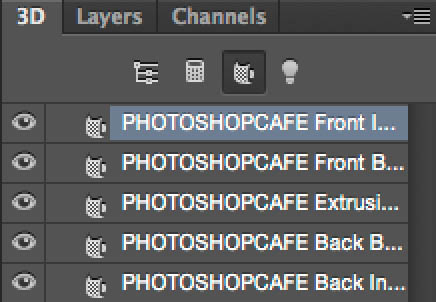
Choose the 3D panel and select the materials button as shown
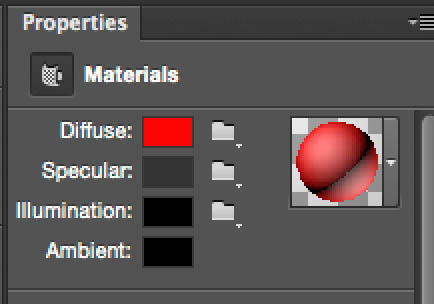
Go to the properties panel and clock the red box by diffuse
The color picker will open, choose hello as the color and click ok
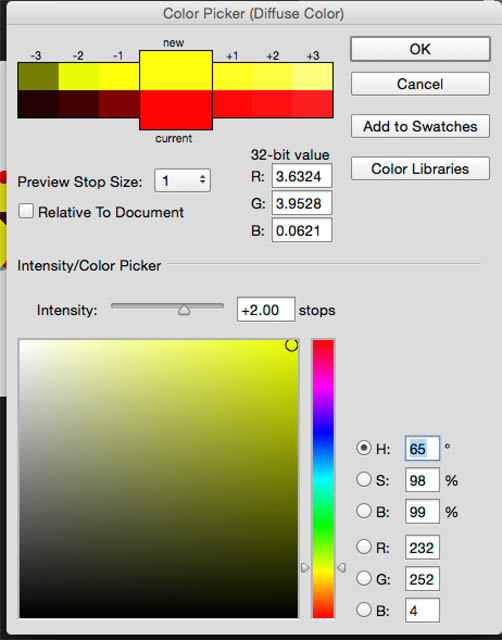
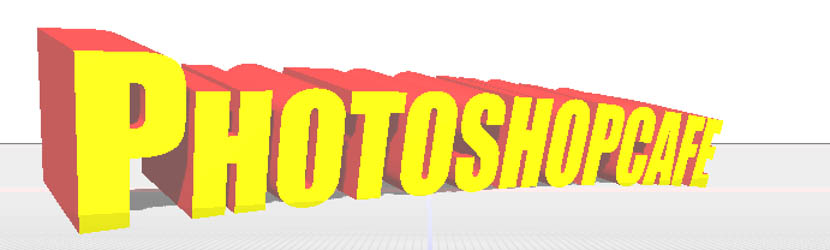
The front will now be yellow.
Step 7
Let’s set up the lighting
in the 3D panel, click on the lightning button

You will now see the l;fighting widget, Drag on the “stem” to change the lighting direction. We are looking to put some nice shadows in the top of the extrusion.
Step 8
It’s starting to look good, but we still need to add the black outline around everything
Choose a layer style in the layers panel on our 3D text layer. Choose stroke and make it 4px and black.
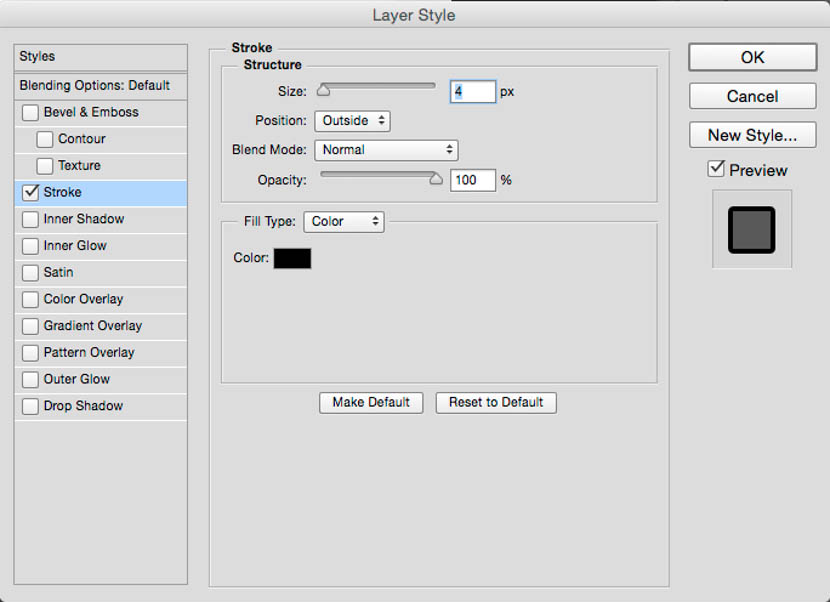
We now see an outline around the whole shape.
We will add the stroke to the text before we are finished.

Step 9
If we go to render the text (Hold down Cmd+Option+Shift+R, Ctrl+Alt+Shift+R) you will notice it looks weird, because its casting a shadow. Let’s fix that

Under the Properties panel, turn off Cast Shadows, make sure Catch Shadows is turned on though.

It will now render correctly
Step 10
So, you noticed that the black outline is around the entires shape, but not the text itself. What to do? I have a sneaky little workaround for you here.
In the Layers Panel, choose the 3D text layer and Press Ctrl/Cmd+J to duplicate the layer.

Step 11
Select the top layer
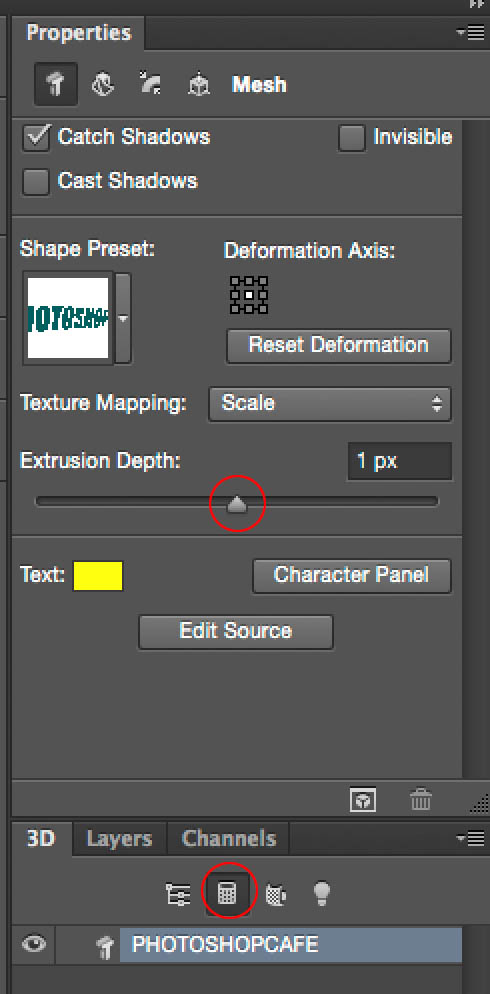
In the 3D panel choose the 2nd option for the mesh
Now go to the Properties panel. Choose the first option (far left button) to choose the geometry.
Change Extrusion Depth to 1 (0 will work, but product weird results when rendered)
You will now see our (almost) final result, but it’s looking a little block or choppy.
Step 12
We need to render each layer, starting with the bottom one, then the top one (Hold down Cmd+Option+Shift+R, Ctrl+Alt+Shift+R)
Once everything is rendered, we have the final result, up, up and away!

Fake 3D Extruded Text in Photoshop
For those of you on older versions of Photoshop, here is the older method.
Step 1
Start with your type on a new layer.

Step 2
Open the warp text tool, it’s the little box in the toolbar with ABC written on it. If you dont see it, select your type with the text tool.
Render the type layer: PC right click/Mac Cmd click in the text in the layers palette and select, rasterize type.
Duplicate the layer.
![]()
Step 3
Now, lets add the extrude: Filter>blur>motion blur.
Set it for -45 degrees and set the distance for the depth of the extrude you want. I used 80 pixels.
Step 4
Duplicate the layer 10 times. Shortcut Ctrl/Cmd+J
Hide the original type layer and click merge visable. This makes all 10 layers in to one.
Step 5
Just to speed things up a bit, duplicate the blurred layer again and merge the 2 together again. (All this does is save us duplicating 20 layers.)
Keep going until the extrusion starts to look solid.
Step 6
Lets see where we are: Show the original type layer on top. (Click the little eye icon to make it visable.
Add a layer style: Color overlay = yellow and stroke = Black and 1 pixel
Ctrl/Cmd click on the layer thumbnail to select the type layer..
Step 7
Now invert the selection. Ctrl/Cmd+Shift+I. With the yellow type selected, click on the extruded layer to make it active. This now protects the yellow type so we can clean up the edges on the red extruded layer.

Step 8
Using the eraser tool with a medium sized hard eraser, begin to erase the extra junk at the bottom.
Step 9
Beautiful! Invert the selection again. Ctrl/Cmd+Shift+I

Step 10
Using the arrow keys on the keyboard, move the selection to the top right of the extrusion. Tip: Holding down the shift key will move it faster. Make it so that the edge of the selection is on the edge of the solid color, with the junk outside the selection.
Invert selection again. Ctrl/Cmd+Shift+I

Step 11
Using the eraser again, erase the junk and you should get something like this.
Of course, if you take more time than I did, your results will be much cleaner!

Step 12
I very quickly (took about 20 seconds) added some shadows with the airbrush tool, just to show you how it will look. Tip: To add shadows with the airbrush tool, click, hold down the shift key, and click again to draw a straight line.
Have fun with this and stay away from Kryptonite! Up, Up and away!

PS Don’t forget to follow us on Social Media for more tips.. (I've been posting some fun Instagram and Facebook Stories lately)
You can get my free Layer Blending modes ebook along with dozens of exclusive Photoshop Goodies here

How to create Youtube channel art in Photoshop. Download youtube channel art template and easy instructions for use.
Let's talk some more about texturing, this time working with an interface style image over several layers. Photoshop 6 layer...

In this tutorial, Colin Smith shows you how to add different types of motion to a slideshow in Photoshop. Pan,...


