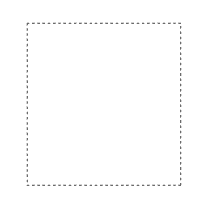
Make a selection on a new layer with the rectangular marquee tool (M)

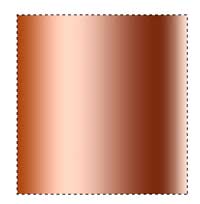
 Press the “G” key to select the gradient tool.
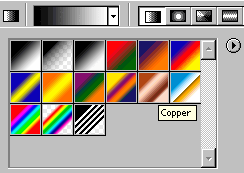
Select linear gradient and the copper preset.
Click and drag from left to right in the image window.
TIP Hold down the Shift key to constrain to perfect horizontal line..
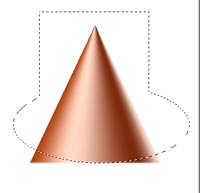
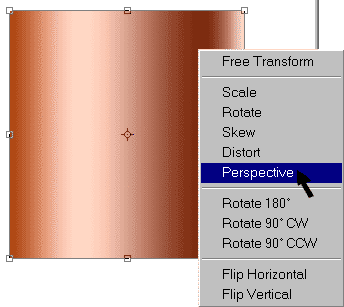 CMD/CTRL+T brings up the free transform tool. PC: left click/Mac: CMD Click – select Perspective.
Drag the top corner into the middle.
Click Enter/Return and you have a cone. This is also a great method to produce a triangle.
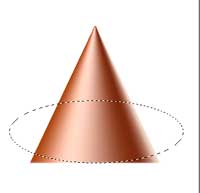 Now for the rounded bottom to make it look more realistic.
make a selection with the elliptic selection tool.
TIP: Hold down the space bar while drawing to move a selection.
 Now add a retangular selection by holding down the shift key. you will see a + which means you are adding to a selection.
Press CMD/CTRL+Shift+I to invert the selection.
Press the Delete key, and you have your finished cone

 Here is the finished cone with a drop shadow added.
This is the same method I used to make the nose of my Rocketship.
To produce tenticles, just create a tall thin cone and then go to filter>Distort>shear
Drag the line into a curve and hit OK!
Access valuable Photoshop extras and goodies for free and much more a

This site uses Akismet to reduce spam. Learn how your comment data is processed.
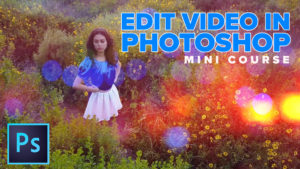
How to add a rim light to a photo in Photoshop. This Photoshop tutorial shows how to make a backlight...

Do you use Quick Actions in Photoshop? How to find quick actions and how to use these quick actions...

How to add a dreamy magical glow effect to add romance and glamor to any photograph. This Photoshop tutorial shows...
Notifications


Leave a Reply