
Lightroom 5 Launch site

Lightroom 5
Text and photographs by Colin Smith
As is our custom, I have all you need to get started right here in the PhotoshopCAFE Learning Site. Watch the video and get a feel for the Lightroom 5 new features and see how to use them. Then read the additional information on this page. I’ll be updating this as time goes on, so bookmark, share and come back often.
Lightroom 5, top 10 New Features
Join Colin Smith as he shows you his top 10 favorite new features in Lightroom 5. This is a quick tour to get you up to speed quickly. A great place to start is with this video, and then watch the additional videos for more detailed information as well as how to use the features and hidden tips.
Advanced Healing Brush in Lightroom 5 for retouching
Finally, real retouching is possible from within Lightroom. Join Colin Smith, as he shows you how to use the new healing brush in Lightroom for some powerful retouching and clean up work.
Radial Filter in Lightroom 5 beta for making super vignettes
Learn about the new Radial filter in Lightroom 5 beta, where Colin Smith shows you how to make powerful adjustments. Create a custom oval shape and use adjustments inside or outside to make amazing special effects
Upright image correction in Lightroom 5 beta
The new upright correction allows photographers to automatically adjust keystoning and distortions. Its a very easy to use and powerful tool. Colin shows how it’s also useful for people wanting to create 3D textures and custom brushes.
Video slideshows in Lightroom 5 beta
Colin Smith shows you how to combine different video clips together in Lightroom, this allows users to create video sequences inside Lightroom 5.
What’s new In Lightroom 5?
Lightroom has reached 5 already. It’s amazing how far it’s come. In this new version, some very important new features are here that fill in many gaps in Photo processing workflow.
The Big Ones
To me the biggest new features are covered in my videos, so i won’t write too much about them, but they are:
Advanced Healing Brush. We now have much more than a spot tool. Drag with the spot tool and you can create brush strokes. Use this tool for some very powerful non-destructive retouching. I show you some different options on 2 different images in my video.
Radial Filter. I like to call this the super vignette. You can create ovals of any size, angle and shape. If you’re using a raw image, all the raw adjustments will be available inside or outside the oval. This enables spot color correction and a tone more. Imagine a vignette where you can use any time of adjustment? You can invert the selection or feather it, from a hard edge, to a very soft edge. You it for an off center spotlight and a whole ton more. One of the most fun tools in the toolset.

Upright. This is quite a remarkable tool. It analyzes the horizontal and vertical lines in an image with the goal of applying automatic correction to keystoning and barreling. In it’s most basic form, upright will automatically level an image. In its wildest flavor, it will take a photograph and make it look like a 3D oblique view. This is handy for grabbing textures to use in 3D models. It really works quite well to make photographs look a lot better. There is even an aspect slider in the manual controls that allows you to make a photo thinner or fatter both horizontally and vertically. Perfect for a subtle tweak to take a couple of pounds off someone.
Video Slideshows. Slideshows now support videos. This is great because you can now mix and match photographs and videos. But the real power lies in the ability to hack this use so that you can now create a series of video clips and actually assemble a story on the “timeline” which is the sideshow.
Smart Previews
When you load in raw files to Lightroom, it generates jpgs for you to use for previews. All the thumbnails and full size images are actually jpgs that are generated from the raw data. This is why, when you view at full size, sometimes it takes a moment for the image to render sharply, because Lightroom is generating a preview. When you disconnect a drive containing the source images, you can still view the previews and even continue to add keywords etc. However, try and make adjustments or export the images and you wile see a warning, because the actual images aren’t there.
In come the new Smart previews. You now have the option of generating additional previews. These are generated as lossy DNG (Introduced in Lightroom 4). A Lossy DNG reduces the size of the file, similar to a jpg, but keeps all the raw editing capabilities including white balance. The advantage of this is flexibility. Disconnect the drive with the original images and then the Smart Previews step in. You can now make all the same adjustments to a Smart Preview that you can do to the original image (like a proxy). When you reconnect the media, the adjustments from the Smart Preview will transfer to the original image. Not only this, because of the quality of the Smart Preview (up to 2540 pixel on the long edge) you can still create web galleries, slideshows and even export image for the web and facebook from the Smart preview without the original image being present. Imagine that? You are free to work from your laptop without carrying around a ton of drives.
You can find the Smart Previews in the Lightroom Catalog under lrdata. You can choose to build smart previews on import “Build Smart Previews”, choose Library>Previews>Build Smart Previews in the Library Module, Click the button under the Histogram (Shown in my first video) or choose to create them on export to Catalog.


Loupe Overlays
Press Cmd+Option+O (Ctrl+Alt+O) and you will see the Loupe Overlay. Hold down Ctrl/Cmd and you’ll have the option to drag on the guides to reposition them, or to change the size and transparency of the grid overlay. You even have the option of overlaying a png image as a layout image. This way you can create templates in a PNG format and crop the images to perfectly match. You will find all this goodness at View>Loupe Overlay.

Book Module
There are a number of improvements in the book module.
Buttons have been added to make it easier to add text to books.

You can directly add text to a text box.
You can have page numbers start at the cover, or a page of your choosing. The appearance can be changed all at once, so you don’t have to go to individual pages.
Custom page templates. You can save your modified page layouts as user pages to be reused.
You can no use Blurbs “standard” paper to save a bit of money when printing a book.
Other Things
There is now support for PNG. It will be converted to Tiff or PSD when editing in Photoshop. There is no support for transparency, so the alpha will be rendered as white.
Smart collections have been expanded to show PNG, Smart Previews, Size, Color Profile, color Channels. and Bit Depth. Yay to bit-depth! This now allows you to create a Smart collection for your 32-bit HDR images. I have been wanting that one for a while.

Full Screen Mode. Press the F key for a true full screen preview of your selected image.
Support for Retina. Both Mac and Windows are now supported in Retina (HiDPI).
You can now right click on the histogram in the Develop module to select LAB color as the readout under the cursor.
My goal here is to give you a list of the most significant features and a kick-start to using them. Feel free to send your friends to this page. As time goes on, new videos and resources will be released here.
See previous Lightroom content
Lightroom 2: interviews with Product managers, filter bar
Lightroom 3: Tethering, connect to social networks, importer, smart collections
Lightroom 4 mapping, develop settings, video, books, soft proof
free Lightroom resources
Learn Lightroom in 15 minutes!
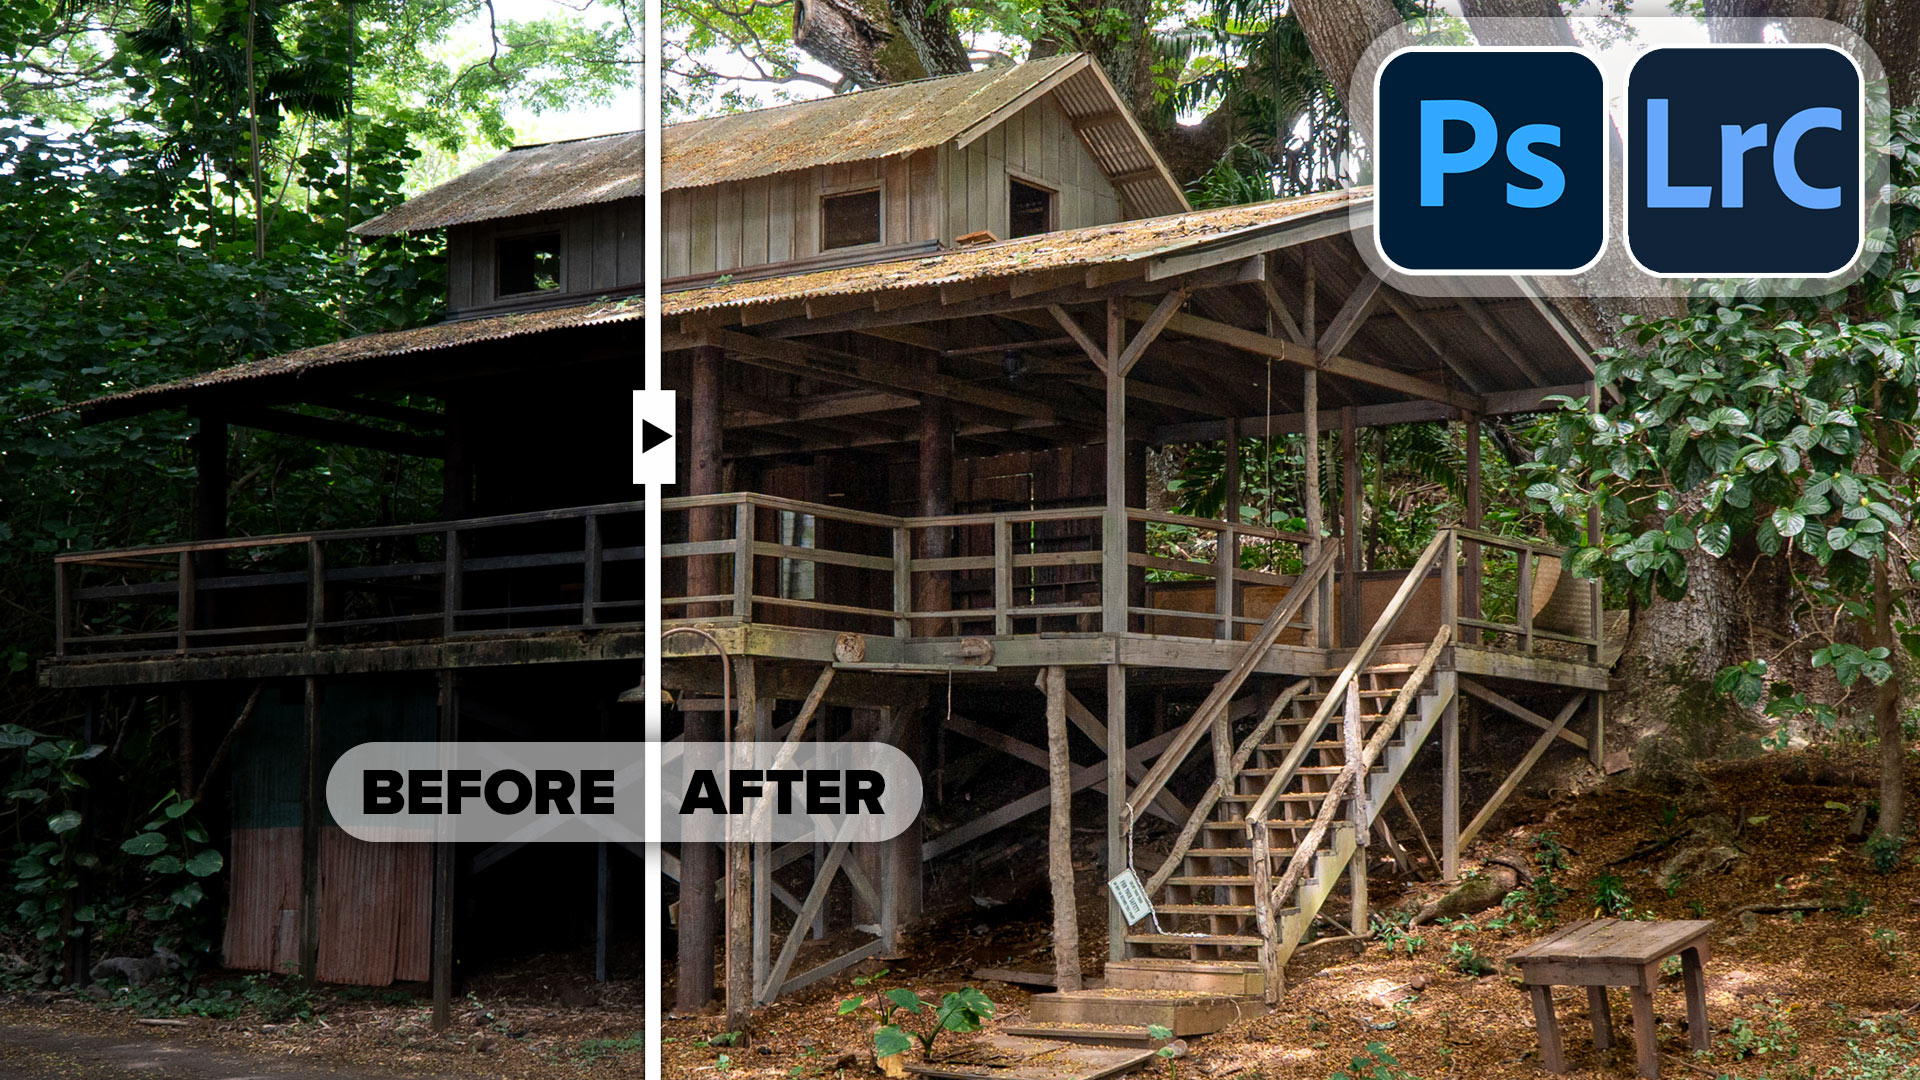
Powerful Landscape Masks, make easy, precise photo editing in Lightroom and ACR in Photoshop
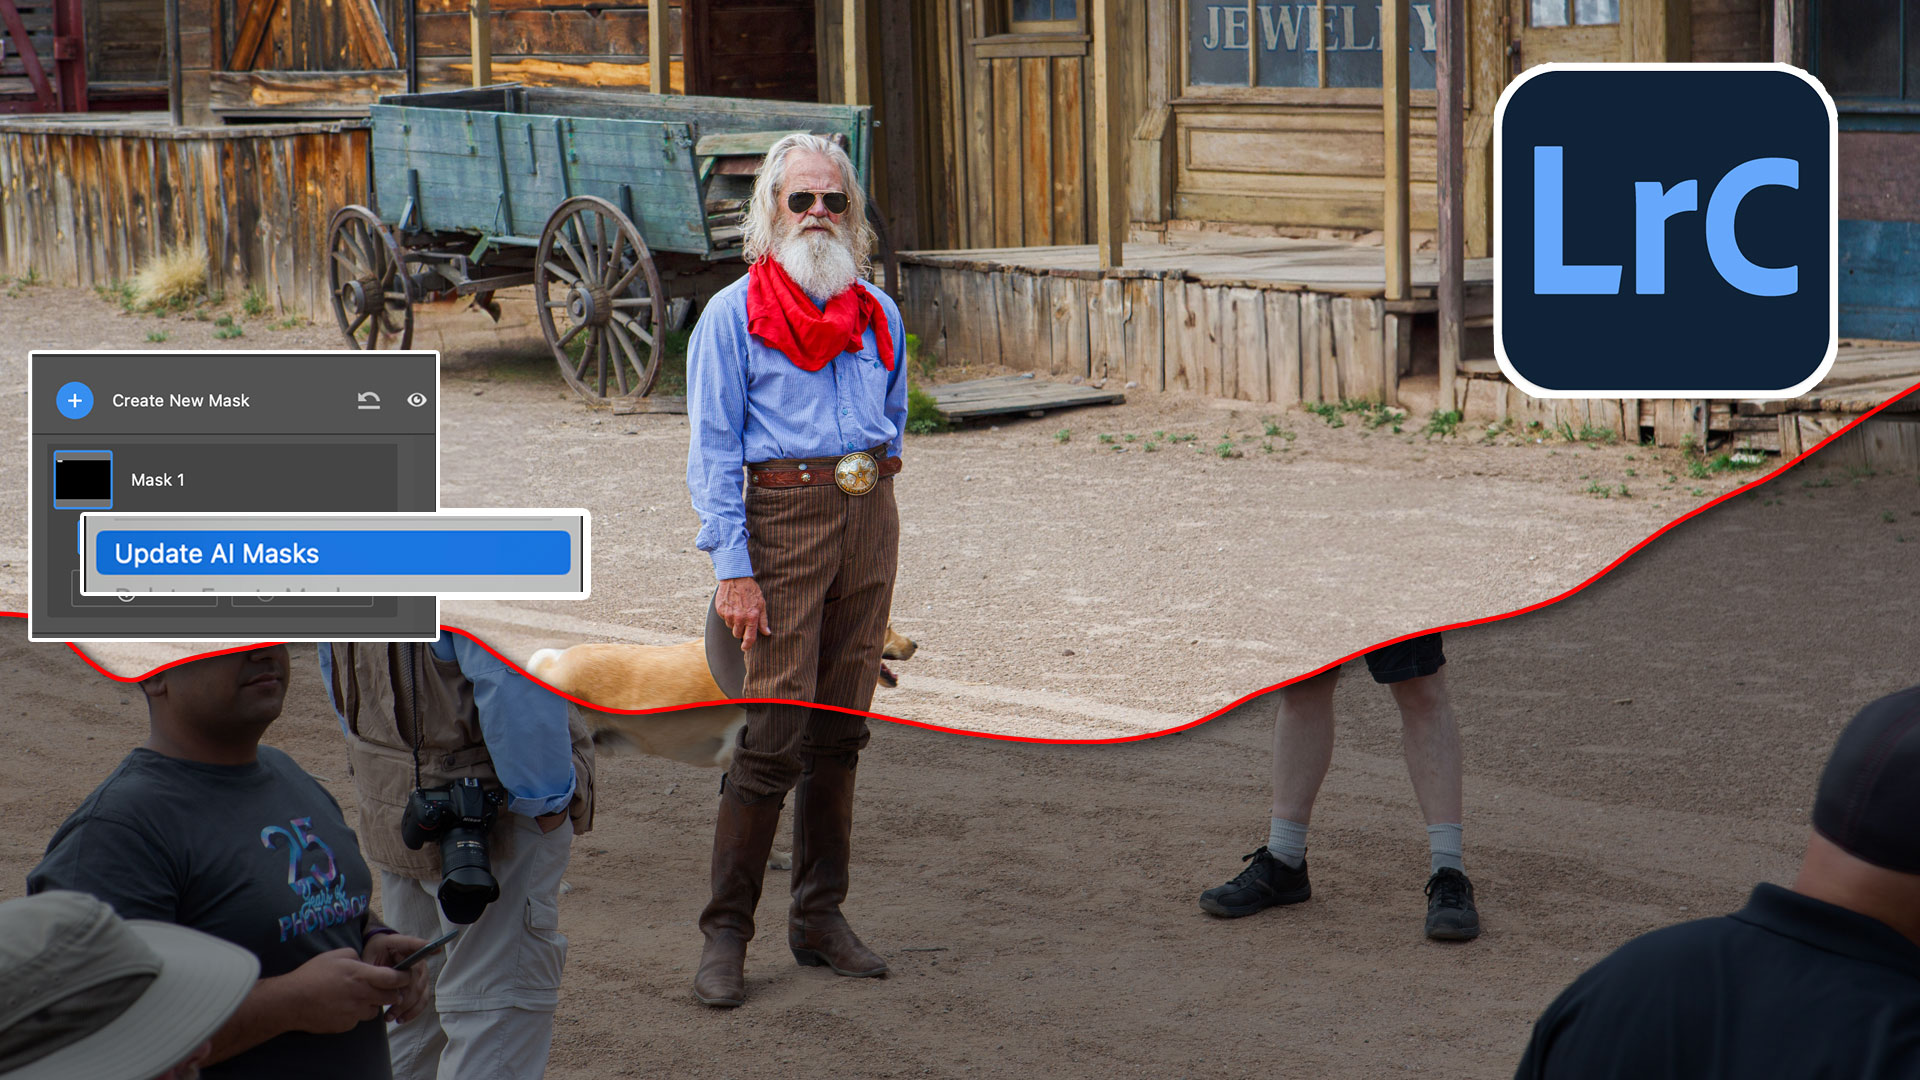
3 big features of Generative Remove in Lightroom and ACR ai.
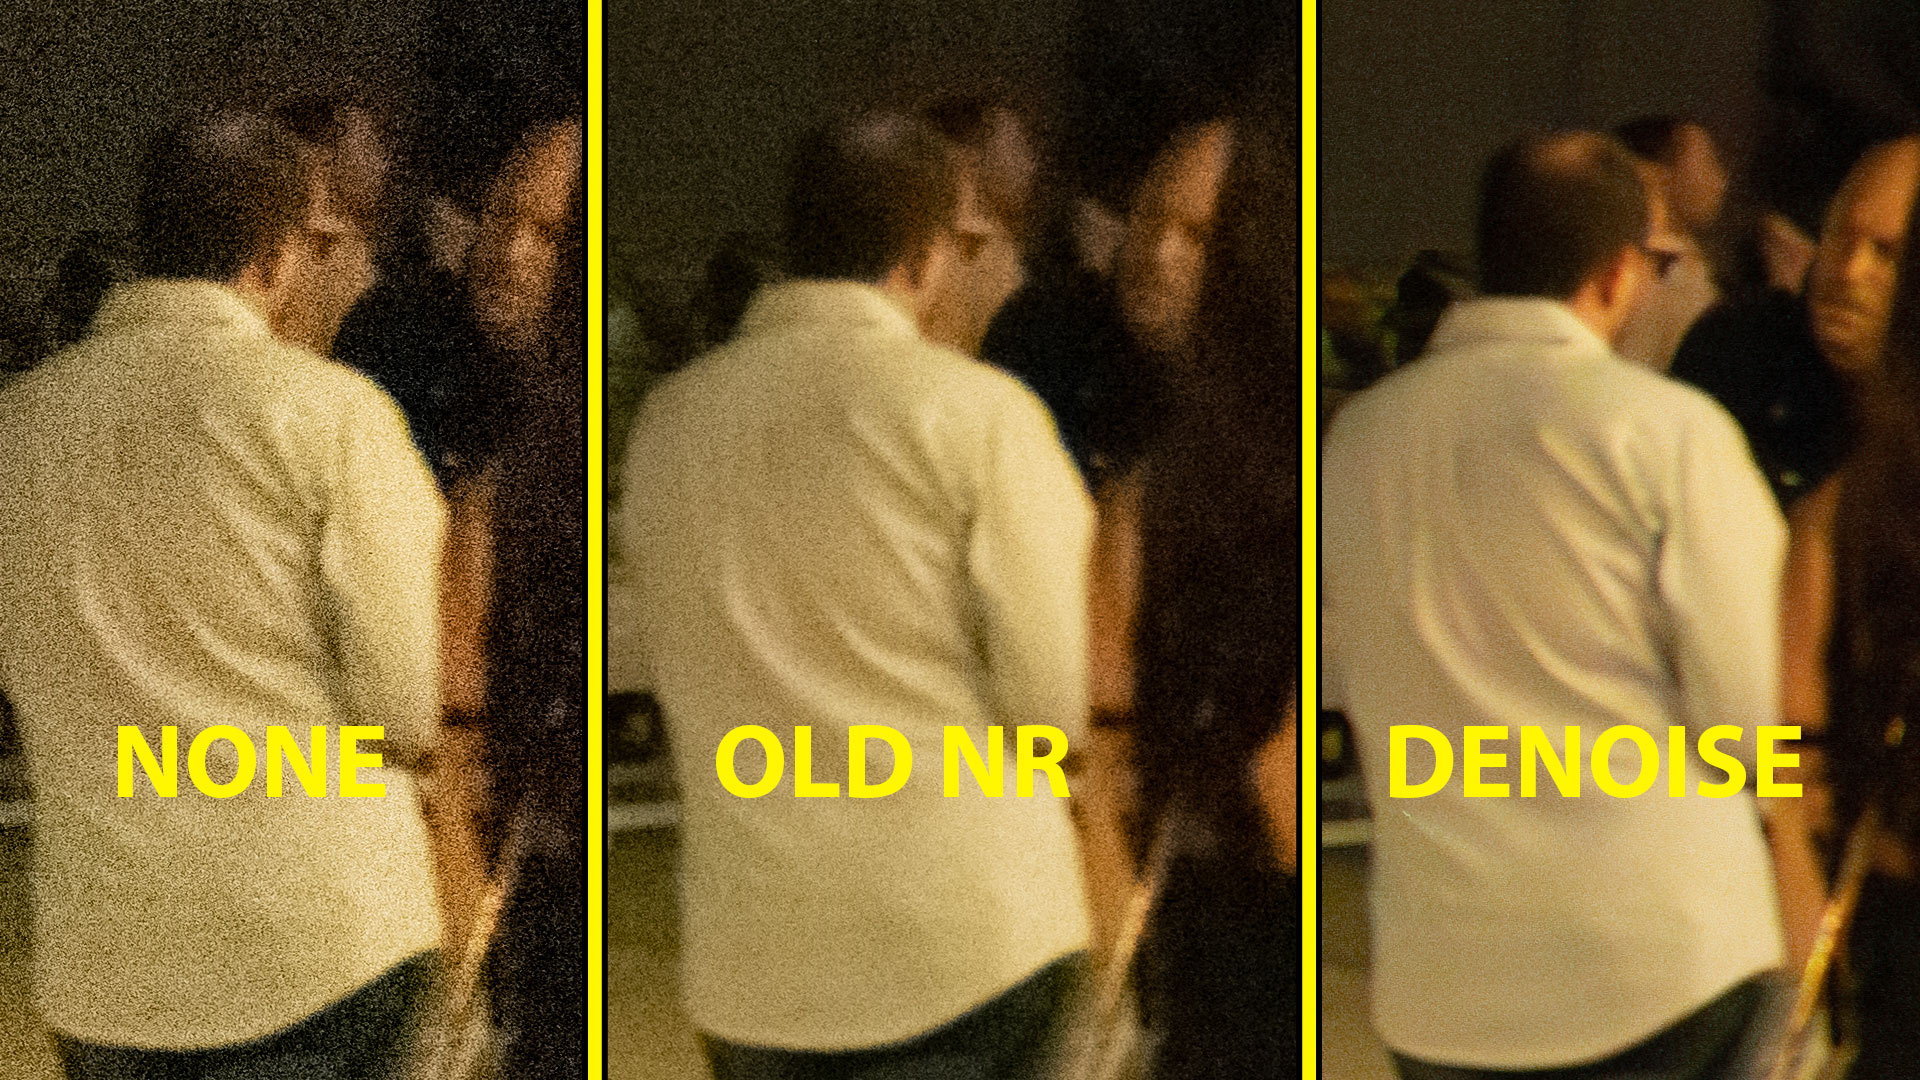
How to use the amazing new Adobe denoise, AI noise reduction in Lightroom and Adobe Camera Raw and examples.


