Photoshop CS4 New Features
Photoshop CS4 and 3D Stephen Burns – www.chromeallusion.com Adobe is bridging the gap between two dimensional and 3 dimensional approaches to creating art. It started with CS3 where we have the ability to import 3D objects into 3D Layers and have some of the same navigational functionalities as 3rd party 3D program. In addition, we can […]
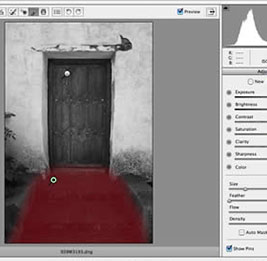
Tim Cooper The New Local Adjustments in Camera Raw Adobe just keeps making the Raw Converter better and better. With the newest version (Adobe Camera Raw 5.0), we now have the ability to locally edit our Raw images! Imagine being able to dodge and burn without using layers, or darken a sky without going even […]
When you launch Photoshop CS4 for the very first time, something is totally in your face. Yes, it sports a brand new interface. Over at Adobe, they have decided it’s time for Photoshop to be easier to use and make the tools you need within reach.